- The fun times are here again where you can do anything that comes to your mind to your iOS device. The number of things that you can do just with an exploit is also fantabulous. As for me, I’ve already got my hands on Houdini, which is a tweaking accessibility tool which uses the async_wake function to enable this kind of functionality. Well, most of the current tweaking and utility tools in the jailbreak world use the async_wake function.
Recently, this app- FilzaEscaped was on fire (not literally) as users were able to tweak various parts of the system by fiddling with the internal filesystem. For those who don’t know, FilzaEscaped is a file browser for iOS, just like the ones on an Android device. However, what makes it special is its ability to get root access into the filesystem. With root access, you can change various aspects of your iDevice’s software, which includes renaming music on your iPhone.
Here’s how to get FilzaEscaped onto your iOS device, if it’s supported.
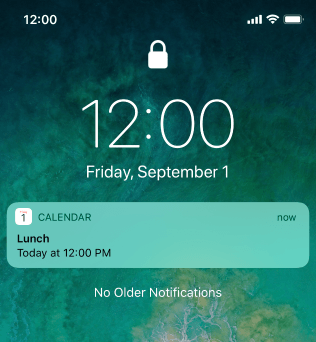
Today I’m gonna show you how to change the boring “No Older Notifications” text with anything that interests you. So, this is what your screen will look like before:

Now, just follow the instructions below to change this text to whatever you like.
Let’s Do this!
Steps:
- Open FilzaEscaped on your iPhone or any supported iDevice.
- Tap on the back button until you reach the root folder. It will have a forward slash (“/”) as its title.
- Tap on System - Library - PrivateFrameworks - UserNotificationsUIKit.framework.
- Now select the language on which your iPhone is set. My iPhone is set to English US so I would select “en.lproj”.
- There will be two files out which you will have to tap on the localizable.strings file. Don’t tap on the localizable.stringsdict file by accident.
- As soon as you reach into the file, tap on the little black triangle facing to the right and just beside it will be “Root” written in words. A whole directory of options will drop down.
- Scroll down and tap on the info icon beside “NO_NOTIFICATION_HISTORY”.
- Then just type whatever you want in the last text field.
- Then tap on the back breadcrumb at the top and tap on Save and then Done.
- Restart your device.
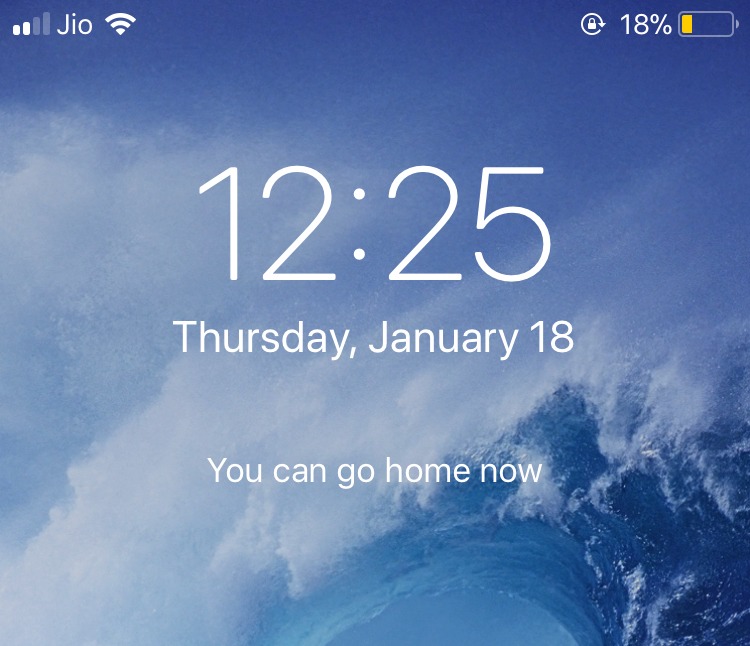
After performing this hack, your notifications screen should look like this:

If you did not understand the simple instructions above, then watch this video to have a clear idea of this process.
Don’t try to do anything else unless you know what you are doing. If anything messes up, you’ll have to restore to a firmware which is not jailbreakable.
Huge thanks to everyone on Reddit as well! Keep up the good work.
Also, if you have some doubt or if there’s something that’s gone wrong, feel free to comment below. And I’ll probably help you out!
Check out another cool hack that can be performed using FilzaEscaped on iOS 11.
