
Most of the people in the iOS community, except for those who are living under a rock know that a jailbreak for iOS 11 is rumored to be launched anytime near Christmas. But, to be eligible for the jailbreak, there are certain conditions that an iOS user needs to comply with.
Yes, your device firmware should be in the range of iOS 11.0 to iOS 11.1.2. Although, for those who are on iOS 10.3.3, I would advise them to jump up to iOS 11.1.2.
A quick update on those who don’t know the scene: Recently, Ian Beer, a Google employee tweeted on his twitter that he would release his tfp0 exploit to the public which works for iOS 11 until 11.1.2. Well, this exploit alone is not capable of producing a jailbreak. A jailbreak will require some other ingredients along with an exploit. So, we now just hope that someone somewhere will own up to the responsibility of creating a jailbreak for the vast iOS community. Again, for this to work, your iOS device should be on the required firmwares.
On the contrary, iTunes, as we all know is not much of a great helper during this process. You have to encounter countless errors before finally, your device gets into the downgrade process. But, even after that, it fails. Although iTunes does the work but is not efficient and fast enough. So, here we have a spectacular alternative to the flashing process in iTunes.
It can be done with the help of the PC/Mac software named 3U Tools. Whilst some people may already be aware of this process, some won’t. So, this article is aimed at those who don’t.
Disclaimer: This article is not and does not intend to, by any means advertise this product. In other words, it’s not a sponsored post!
1. Download 3U Tools
This is a freebie available on its website. Although you can amp it up by paying its service for unlocking extra features. You can download 3U Tools from this link.
2. Open 3U Tools
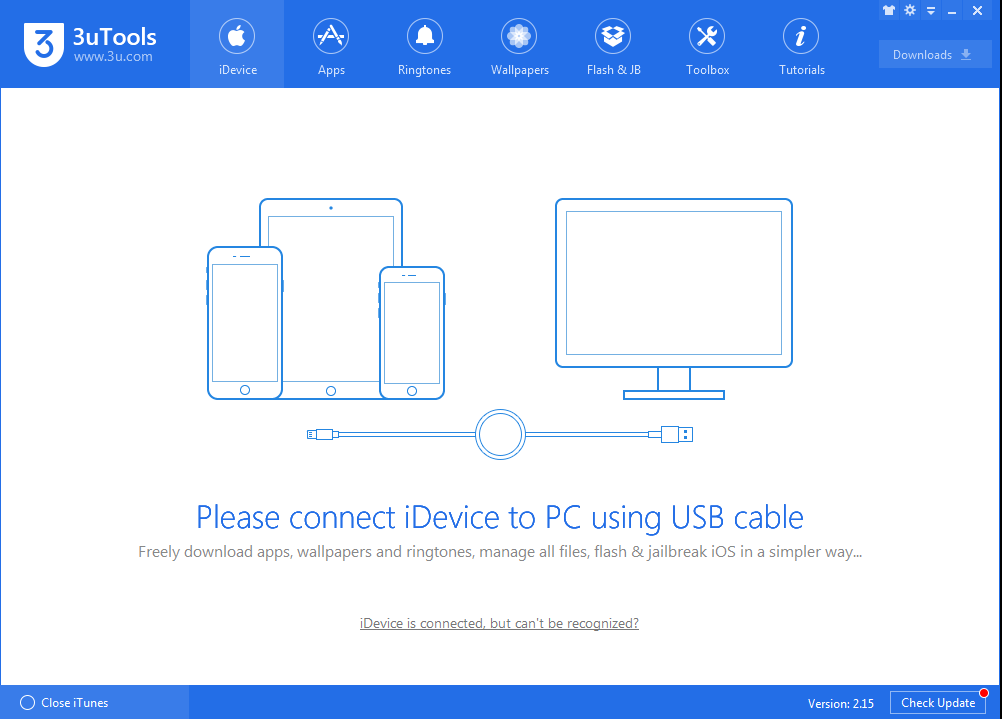
As soon as it gets downloaded, just run the setup file and go with the flow. Eventually, you’ll have it installed on your PC. Now, as soon as you open the software, you will be greeted with this screen:
3. Connect your iPhone and read the instructions below:
As soon as you get to see the screen above, connect your iPhone and click on the “Flash & JB” tab on the top.
Then click on the “Easy Flash” sub-tab. After performing these steps, your screen must look like this:

Now, that you have selected the firmware of your choice, read this super-important step:
To not lose data while downgrading, select the little checkbox beside the green “Flash” button. Although, if you want to do a clean install, uncheck that box if it’s checked or leave it as it is.
4. Click the green Flash button.
Click the green “Flash” button at the bottom right corner.
5. Wait for the process to complete
While the process is ongoing, your screen must look like this:

Wait for the software to do its thing and you will get a screen like this:

This screen indicates that your process is complete but don’t disconnect your device yet.
6. Wait for the iPhone to complete the restore process.
Now, if you would have checked the “Retain Data” checkbox, then after booting up, your iPhone will go into a restore session. The restore session will take about 10-15 minutes based on the amount of data contained on your iPhone.
Lo! You have your device, ready for a potential jailbreak.
Leave a comment below if something doesn’t work out for you. Or just leave a comment if it works! Have a Merry Christmas!
